

What are the maintenance requirements for LVT Glue Flooring?
Nov 19, 2026
Hey there, it’s Mia from the LVT Glue Flooring team – and let’s be real, I get it. When someone installs glue-down LVT (luxury vinyl tile) in their home or commercial space, the last thing they want is to deal with peeling edges, scuffs that won’t buff out, or a floor that looks worn out just a year later. As someone who’s been helping folks pick, install, and care for LVT floors for the past 7 years, I’ve seen it all: customers who skip basic maintenance and end up needing full replacements way sooner than they should, and others who follow a few simple steps and still have floors looking fresh 10+ years later. Today, I’m breaking down exactly what it takes to keep your glue-down LVT flooring in top shape – plus, I’ll drop some links to our most popular LVT options if you’re still picking out your new floor.
First off, let’s get one thing straight: glue-down LVT is different from click-lock LVT. Click-lock is the DIY, floating type that snaps together, but glue-down (that’s the stick-down vinyl floor tiles we specialize in) is adhered directly to a subfloor, which makes it sturdier, more water-resistant, and less prone to shifting. That durability means nothing if you don’t care for it right, though. Let’s start with the most basic (and most important) maintenance step: daily and weekly cleaning. I know, I know – cleaning floors sounds like a chore, but glue-down LVT is actually way easier to keep clean than hardwood or carpet.
For daily upkeep, all you need is a dry microfiber mop or a soft-bristle broom. Skip the stiff-bristle brooms that can scratch the LVT surface, and never use a vacuum with a beater bar – that’s a fast track to scuffs and even pulling up edge corners. If you’re cleaning small messes, a quick wipe with a damp (not soaking wet!) cloth works. Water is your friend here, but too much water can seep under the edges of glued-down tiles over time, breaking the adhesive bond and causing lifting. I learned that the hard way early on – a customer of mine used a steam mop (big no-no for glue-down LVT, by the way) on their kitchen floor, and within 6 months, several tiles had lifted at the seams. Moral of the story: keep water to a minimum, especially on high-traffic areas like kitchens and entryways.
Weekly cleaning is just a bit more involved. If you have a small area, a damp microfiber mop with a pH-neutral floor cleaner works perfectly – avoid harsh chemicals like ammonia, bleach, or wax-based cleaners. Those can dull the LVT’s protective wear layer, which is the thin top layer that makes it scratch-resistant. For larger commercial spaces, we recommend a professional-grade neutral cleaner, but even a mild dish soap mixed with warm water (just a tiny drop!) works if you’re on a budget. Pro tip: always wring out your mop until it’s almost dry before mopping – excess moisture is glue-down LVT’s biggest enemy.
Now, let’s talk about preventing damage in the first place, because an ounce of prevention is worth a pound of cure, right? The biggest culprits of LVT wear are dirt, grit, and heavy furniture. That’s why we always recommend adding doormats at every entryway – one outside and one inside. The inside doormat should be non-abrasive and non-staining (avoid rubber doormats, as some rub off dye onto LVT floors) to catch dirt, sand, and gravel before people track it onto your floor. Grit is like sandpaper for LVT – every time you walk over it, it’s scratching the wear layer little by little, leading to dull spots and eventually permanent damage.
For furniture, this is another big one. Dragging heavy chairs, sofas, or tables across glue-down LVT can scratch the surface or even pull tiles loose, especially if you don’t have the right pads on the legs. We always suggest using felt pads for soft furniture (like sofas and dining chairs) and heavy-duty rubber pads for heavier items like appliances. If you’re moving furniture, don’t drag it – lift it, or use a furniture sliders to glide it without scraping. I had a restaurant client once who skipped adding pads to their booth legs, and within a few months, they had dozens of fine scratches across their dining floor. Adding those simple pads fixed it instantly and saved them from having to refinish or replace the whole floor.
Speaking of high-traffic areas, if your LVT is in a commercial space or a busy family home with kids and pets, you might want to do a deeper clean every few months. That means a deep scrub with a pH-neutral cleaner, rinsing (again, with minimal water), and drying the floor thoroughly. We also always recommend avoiding sharp objects – think: knives dropped while cooking, high-heeled shoes (especially stiletto heels, which can puncture the wear layer), and pet claws. If you have a dog, keep their nails trimmed short! A scratching dog claw is way harder on LVT than you’d think, and it can lead to long, permanent marks.
Now, let’s address a common question I get all the time: can I repair damaged LVT tiles? The short answer is yes, but it’s easier if you have spare tiles from your original installation. That’s why we always tell customers to save 5-10% of their LVT after installation – you’ll thank yourself later. If you have a small scratch, some brands sell LVT repair kits that can fill in minor scuffs and hide damage. For larger chips or lifted tiles, you might need to carefully pry up the damaged tile, clean the subfloor, apply new adhesive, and press the new tile into place. If you’re not handy, though, it’s totally fine to call a professional – it’s cheaper than replacing the whole floor.
Wait, let’s circle back to adhesive for a second, because glue-down LVT’s bond is everything. The adhesive we use for our LVT is designed to last for decades, but it can break down over time if you expose it to excessive moisture or extreme temperatures. For example, if you have a space with constant high humidity (like a bathroom, though we don’t usually recommend LVT for full bathrooms because of standing water), make sure you have good ventilation. Extreme cold or heat can also affect the adhesive – so if you’re in an area with super cold winters, avoid leaving windows cracked for long periods, and keep heating consistent.
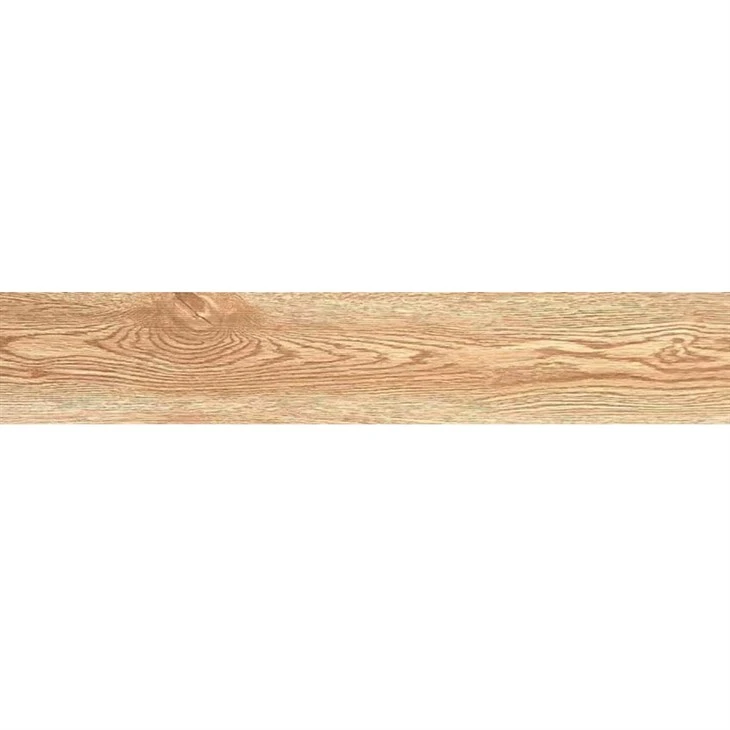
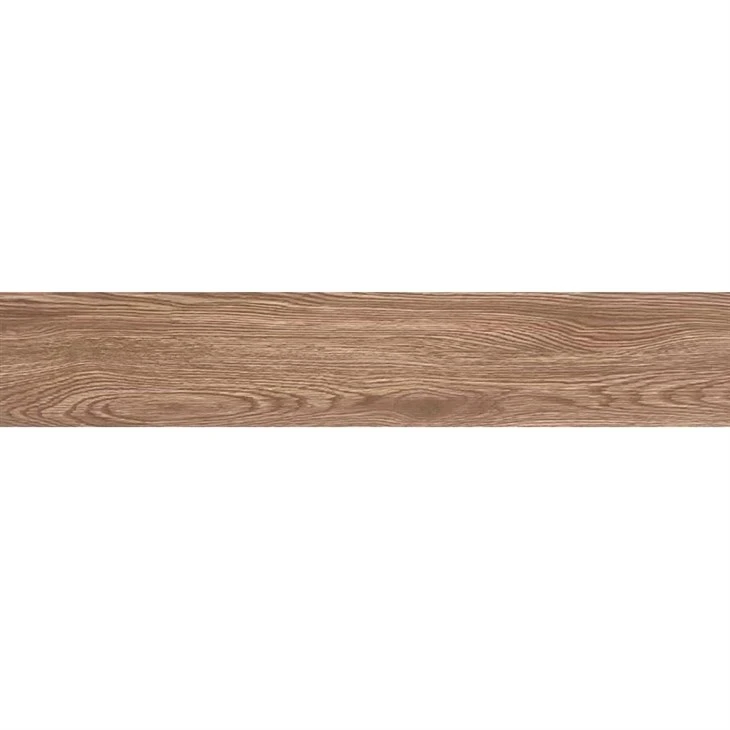
Now, if you’re in the market for new glue-down LVT, we’ve got some great options that are perfect for easy maintenance. Our Eco Cherry LVT Flooring Plank is a fan favorite – it has a smooth, low-gloss surface that hides minor scuffs and is super easy to wipe clean. For a more natural look, our Eco Oak LVT Flooring Plank mimics real hardwood but with all the water resistance of vinyl, so no need to worry about spills ruining it. If you’re looking for something a bit more modern, our Grey LVT Flooring Glue Down has a subtle matte finish that doesn’t show dust or dirt as much as high-gloss options. We also have our Eco Maple LVT Flooring Plank, which is light and bright, making small spaces feel bigger – and just as easy to care for as our other styles.
A quick note on what not to do with your LVT, because I’ve seen customers make these mistakes over and over. Don’t use wax, polish, or steam cleaners – as I mentioned earlier, those can damage the wear layer. Don’t use harsh chemicals like bleach, ammonia, or oven cleaners on spills – they can discolor the LVT and break down the adhesive. And don’t ignore small issues, like a lifted edge or a deep scratch. If you catch it early, it’s way easier to fix than letting it get worse and needing a full tile replacement.
At the end of the day, glue-down LVT is one of the most low-maintenance flooring options you can get – way easier than hardwood, tile, or even carpet, with that durable, premium look that makes any space feel nicer. All it takes is a few small, consistent steps: regular light cleaning, preventing dirt and grit buildup, protecting furniture, and fixing small damage as it comes.
If you’re ready to upgrade your space with glue-down LVT, we’ve got all the styles you need, from our Eco Cherry LVT Flooring Plank to our Grey LVT Flooring Glue Down. We’re always here to answer any questions about installation, maintenance, or picking the right floor for your space – just reach out to our team to chat about your project. We can help you find the perfect LVT that fits your style, budget, and maintenance needs, so you can stop stressing about your floor and start enjoying your space.
References
- National Wood Flooring Association. (2022). Care and Maintenance of Luxury Vinyl Flooring. NWFA Technical Bulletin.
- Vinyl Institute. (2021). Glue-Down Vinyl Flooring Best Practices for Longevity. Vinyl Industry Research Report.
- Resilient Floor Covering Institute. (2020). Maintenance Guidelines for Adhered Vinyl Composition Tile and Luxury Vinyl Tile. RFCI Industry Standards.
- Flooring Canada. (2023). Resilient Flooring Maintenance Handbook. Canadian Flooring Association Publication.