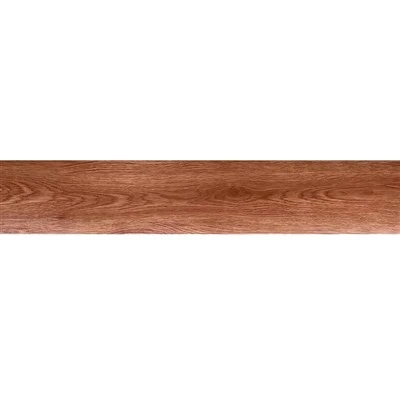
PVC Flooring Installation Process
Jul 11, 2026
Construction Procedures
Subfloor preparation - Self-leveling application - Pre-laying - PVC installation - Seam welding - Site cleanup.
Subfloor Preparation
1. After the installation of walls, ceilings, doors, and windows is complete, sweep the floor to remove debris.
2. Remove loose sand, oil stains, and any residual materials from the subfloor surface.
3. Thoroughly clean the floor to remove dust and grit.
4. Once the floor is completely clean, apply an even coat of interface agent using a roller.
Self-leveling Application
1. Check that the self-leveling cement meets relevant technical standards; do not use expired products.
2. Pour an appropriate amount of the self-leveling compound into a container and dilute with clean water according to the product instructions.
3. Mix thoroughly until the compound reaches a fluid consistency.
4. Pour the compound onto the floor in sequence and spread it evenly using a notched rake/squeegee to a thickness of approximately 2–3 mm.
5. Do not walk on the surface or stack items on it for 4 hours after application.
Layout and Marking
1. Based on the design pattern, flooring specifications, and room dimensions, mark out the grid and snap positioning lines.
2. Snap center cross-lines or diagonal lines onto the subfloor, as well as lines delineating the patterned sections.
3. Snap border lines onto the walls; the lines must be fine, clear, and accurate.
4. Before actual installation, perform a dry lay (trial layout) according to the marked lines to check the fit and number the flooring tiles/planks.
Flooring Installation
1. Clean the subfloor surface thoroughly with a soft brush or dry cloth to remove dust.
2. Ensure the subfloor is level and meets installation requirements. Apply adhesive evenly to the subfloor using a notched trowel. Lay the flooring sequentially, working from the inner area outward. Once a room or section is laid, use a roller or push-board to apply pressure and ensure a tight bond.
3. After laying the flooring, assess the adhesive's drying status based on the ambient temperature before proceeding to weld the seams.
4. Before welding, cut a V-shaped groove along the edges of adjacent flooring pieces. Use a welding rod made of the same material as the flooring. Perform the welding using a hot-air welding gun set to a temperature between 180°C and 250°C.
5. Once the welding rod has cooled, use a scraper or trimming knife to trim off the excess material flush with the floor surface, taking care not to damage the flooring itself during the process.