

Are there any installation tips for 18x18 Anti Slip LVT Tile?
Nov 11, 2026
Hey everyone! If you’re here, you’re probably either prepping to install 18x18 anti-slip LVT tiles in your space—maybe a busy kitchen, a kids’ playroom, or a commercial area like a café—or you’re just curious how to get that job done right. Full transparency, I’ve been supplying 18x18 anti-slip LVT tile for a few years now, and let me tell you, installation makes all the difference between a floor that stays grippy, looks clean, and lasts for years, and one that starts lifting or losing its slip-resistance way too soon. I’ve seen every mistake under the sun, so today I’m sharing the tips I pass along to every customer, from DIYers tackling their first project to contractors on a tight timeline. Let’s dive in.
First off, before you even pull a tile out of the box, there’s prep work that can make or break the entire job. I know, I know—prep sounds boring, but skip this part and you’re asking for trouble. First, check your subfloor. LVT is super durable, but it’s not magic. It needs a flat, clean, dry surface. I once had a customer call me panicking because half his tiles popped up 6 months after installation—turns out his basement subfloor had a tiny, un noticed dip that pooled water under the edges, breaking the adhesive seal. So how do you check? Grab a long level or a straight 4-foot board. Lay it across the floor in every direction—if there’s a gap bigger than 1/8 inch under the board, you need to level that area. For concrete subfloors, you might need a self-leveling compound; for wood, fix any loose or squeaky planks first—nothing ruins a new floor like a creak that’ll start driving you nuts a month in. Also, make sure the subfloor is completely dry. Concrete needs at least 2 weeks to cure if it’s new, and use a moisture meter to check—you don’t want a reading over 3% for concrete. For wood, humidity levels should be between 30-50%—LVT expands and contracts with the air, so if the room’s too dry or too wet, you’ll get gaps or buckles later. While we’re talking about prep, let’s mention acclimation—this is non-negotiable for 18x18 anti-slip LVT tile. Leave the boxes in the room they’ll be installed in for at least 48 hours before opening them. LVT is synthetic, so it adjusts to the space’s temperature and humidity. I’ve had guys cut corners here and end up with tiles that warp or don’t fit right once installed. Pro tip: if you have multiple boxes, mix tiles from different boxes as you work. The slight color variations in LVT are normal, and mixing them hides imperfections way better than using all one box in a section.
Next up, choosing the right adhesive. This is a big one, especially for our anti-slip LVT tiles—you don’t want the adhesive to mess with the tile’s texture, right? I get asked all the time: can I use regular LVT glue? Short answer: maybe, but not always. For 18x18 tiles, which are bigger than smaller sizes like 12x12, you need an adhesive that has enough grab to hold the larger surface area without sliding. Wait, side note—if you’re curious about smaller LVT options, check out our 12x12 cork back LVT tile, which has its own adhesive backing and works great for smaller spaces or DIYers who want less hassle. But back to adhesive for our anti-slip tile: we recommend a pressure-sensitive, acrylic-based glue that’s formulated for LVT, specifically stick-down LVT installations. Don’t use construction adhesive or wood glue—they’ll either be too sticky (making it impossible to adjust tiles once laid) or not sticky enough (leading to lifting). Also, a common mistake: spreading too much adhesive at once. For 18x18 tiles, you only want to spread enough for 2-3 tiles at a time. If you cover the whole floor first, the adhesive will skin over before you get around to laying the tile, which means no bond. Another quick tip: if you have a foam back LVT flooring tile, that has its own self-adhesive layer, but it still needs a smooth subfloor—so prep is still key! No cutting corners there either.
Now, laying the tiles. Let’s talk layout first—don’t just start in the corner of the room. I know it’s tempting, but you’ll likely end up with uneven cuts along the walls. The right spot to start is the middle of the room. Measure both the length and width of the room, mark the center point with a chalk line, and snap two lines that cross at 90 degrees. That’s your starting grid. Why? Because when you lay the tiles along these lines, any partial tiles along the walls will be evenly sized on both sides, not tiny scraps on one end. For 18x18 tiles, the starting grid is extra important because larger tiles are harder to adjust once placed. Once you lay the first tile, double-check that it’s square with the chalk lines—use a square tool, not just your eye. One small off-kilter tile early on and the whole row will be messed up. When you set each tile, press down firmly—apply even pressure across the entire surface, not just the edges. I like to use a rubber mallet and a scrap piece of plywood to tap the tiles into place evenly. This makes sure the adhesive spreads across the entire back of the tile, no air bubbles trapped underneath. And here’s a crucial point for our anti-slip LVT tile: avoid getting any adhesive on the top surface. Our anti-slip texture is what makes it grippy, and if you get glue on the surface, it’ll smooth that texture out, defeating the purpose. If you do get a smudge, wipe it off right away with a damp cloth—don’t let it dry. For the edges, when you get to the walls, baseboards, or door frames, measure the space, cut the tile with a utility knife or a LVT-specific cutter, and leave a 1/8 inch gap between the tile and the wall. This gap is for expansion—remember that humidity thing we talked about earlier? LVT moves a little, so if you tile right up against the wall, when it expands, it’ll buckle. You can cover that gap later with baseboards or quarter-round, so it’s totally hidden.
Wait a second, let’s address a common question: is this tile better to glue-down or floating? A lot of people ask about floating floors because they’re easier for DIYers, but for 18x18 anti-slip LVT tile, I always recommend glue-down. Why? Floating floors use interlocking edges, and those edges can wear down over time, especially in high-traffic areas where you’re stepping on them a lot. The glue-down method creates a permanent bond that keeps the anti-slip texture intact and prevents shifting. If you’re wondering about other sizes for different spaces, we also carry 24x24 acoustic LVT tile for larger open areas where you want less noise—acoustic padding under those tiles absorbs sound, which is great for home offices or multi-level homes. All our LVT products, from the anti-slip 18x18 to our foam back LVT flooring tile, are made with high-quality materials that hold up to moisture, scratches, and heavy foot traffic, but only if installed right.
Now, post-installation care—this is part of the installation process too, trust me. A lot of people think once the last tile is laid, they’re done, but how you handle the next 48 hours makes a big difference. Don’t walk on the floor for at least 24 hours, and if you can, wait 72 hours before moving furniture back in. The adhesive needs time to fully cure, and stepping too soon can cause tiles to shift or not bond properly. After that, avoid dragging heavy furniture across the surface—use furniture pads under the legs to prevent scratches, and for high-traffic areas, maybe add a runner in entryways. When cleaning, use a pH-neutral LVT cleaner—avoid harsh chemicals like bleach or ammonia, they can break down the adhesive and dull the anti-slip texture.
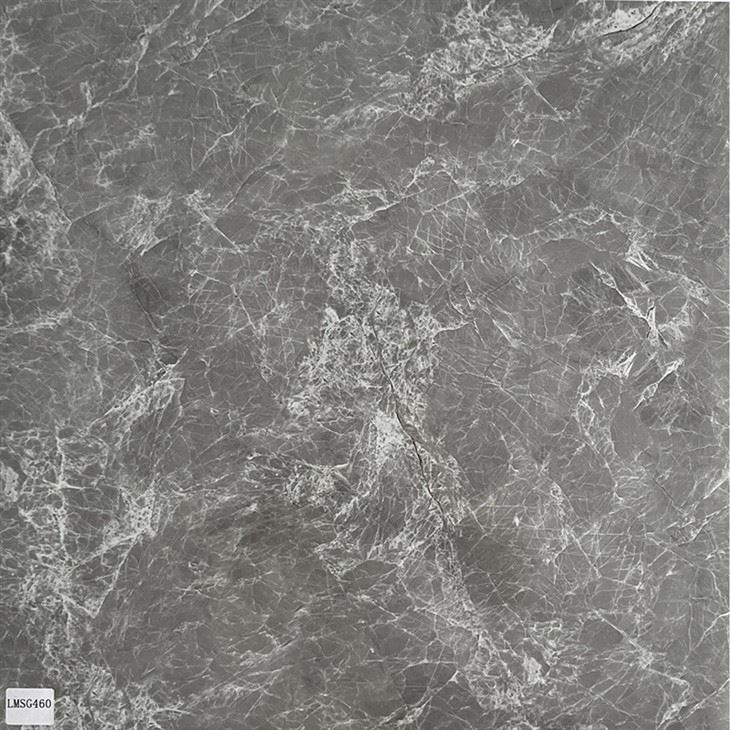
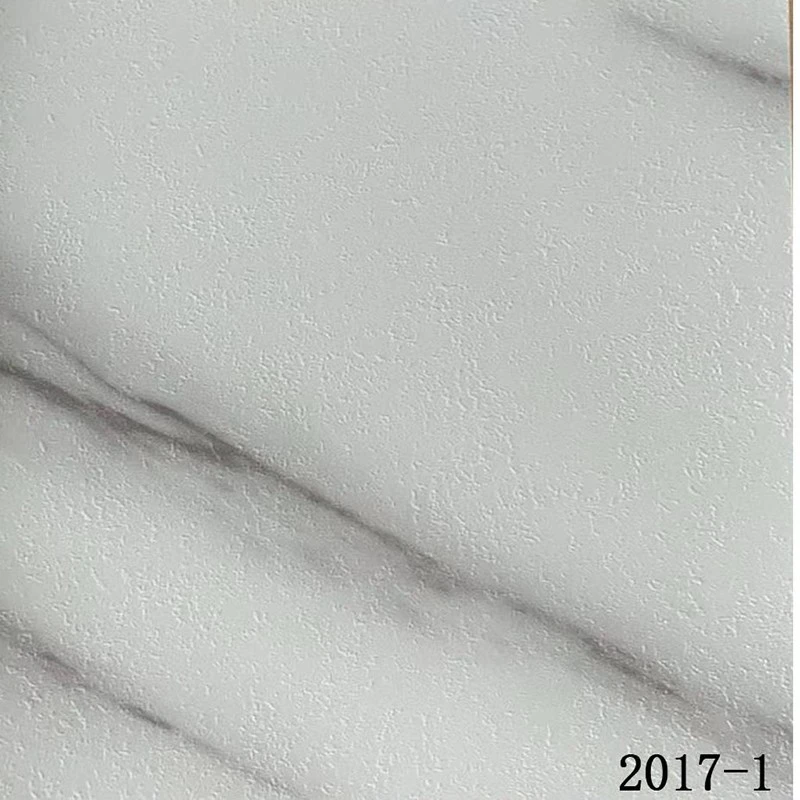
Let me wrap this up with a few quick do’s and don’ts to keep it simple, because I know when you’re in the middle of a project, you don’t want to reread a long list. Do: acclimate your tiles, prep your subfloor, start from the room center, use the right adhesive, leave expansion gaps. Don’t: skip prep, use too much adhesive, start in the corner, let adhesive get on the top surface, walk on the floor too soon. If you’re still on the fence about whether 18x18 anti-slip LVT tile is right for your space, or if you have questions about installation, feel free to reach out. We supply high-quality 18x18 anti-slip LVT tile that’s perfect for kitchens, bathrooms, playrooms, commercial spaces, and any other area where slip resistance matters. Whether you’re a DIYer needing guidance or a contractor looking for reliable flooring products, we’ve got you covered. Just reach out to discuss your project needs—we’d love to help you get that floor installed right the first time.
REFERENCES
Floor Covering Installation Manual, National Wood Flooring Association (NWFA)
LVT Adhesive Compatibility Guide, Resilient Floor Covering Institute (RFCI)
Resilient Flooring Subfloor Preparation Standards, ASTM International